In this chapter, you will add the first visible object (a simple cube)
to your scene.
First, select a matrix out connector of the camera
by clicking on it.
Then activate modules > matrix > identity.
The new identity matrix module will be connected to the camera at the
selected matrix out connector. Because a created module will
be selected automatically, you can immediately activate modules >
object > cube to connect a cube to the identity matrix.

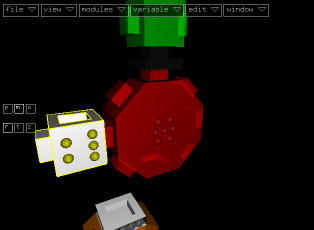
Switch to object
mode by clicking the o button on the left or activating
window > show objects. You will see a wireframe representation
of the cube in white and the view volume of the camera in red.
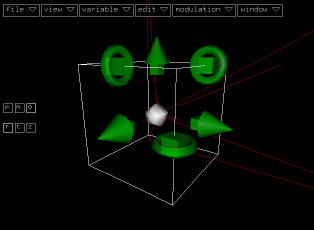
Note, that the camera's eyepoint lies inside the
cube. You could simply move the cube away. But because you inserted
an identity matrix between the camera and the cube, you also have the
possibility to move the camera away. That's what you should do in the
next steps.
The green handles indicate, that the cube's module is
selected. You could switch back to module mode and select the camera
module.
But because the camera is the root module of the small
hierarchy, you can also activate edit > select > root.
Or alternatively, traverse the matrix hierarchy by activating edit
> select > parent two times.
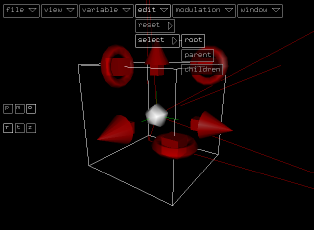
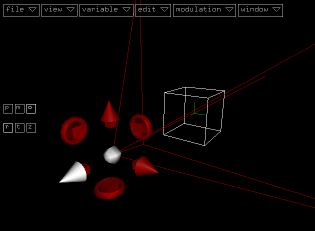
Now you see the red handles of the camera object.
Move the camera along the z-axis by dragging the lower
left cone away from the cube.
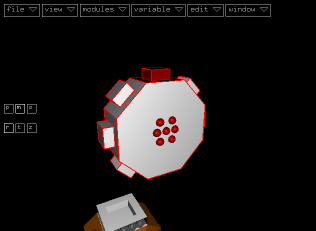
If you switch to play mode, you still see nothing except
a white screen.
That's because every object is white by default. So you
actually see a white object in front of a white background. You could
simply change the cube's color but let's try another option: connect
a light module to the camera (modules > objects > light).
Move the light away from the camera's eyepoint
by entering x- and y-position values in it's inspector (eg -3 and 3)
or by moving it in object mode.
In play mode, you should see a shaded cube now:

In the next
chapter you will learn how to add some motion.